Getting the Right Seal
When it’s time to replace a spindle-mounted seal on your heavy-duty or commercial vehicle, National has an oil bath seal for your application.
National Gold 38 Series Seals
Engineered with an exclusive PTFE compound, National Gold 38 seals withstand extreme temperatures and harsh operating conditions. A unique exclusion design keeps contaminants out while the patented PTFE lay-down bi-directional sealing lip maintains consistent sealing during wheel movement.
National Red 37 Series Seals
National Red 37 seals feature unitized construction for enhanced structural integrity and main lip protection. A single spring-loaded sealing lip actively pumps lubricant back into the hub. Designed for dependable performance, Red 37 seals have three floating points of contact to lock out dirt and moisture.
Steps for Removing and Installing Spindle-Mounted Seals

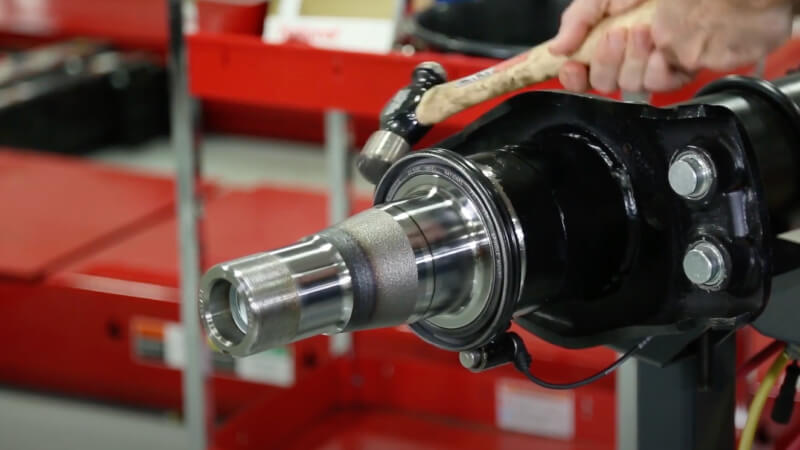
Remove the seal by striking its backside with a hammer.

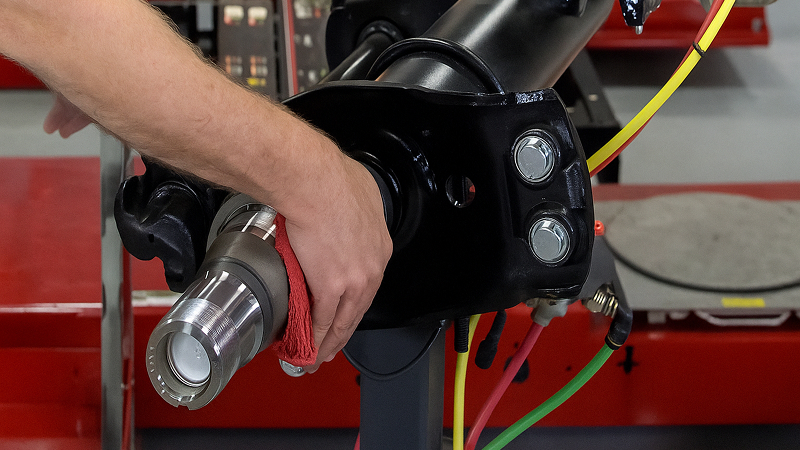
Clean the spindle with a rag to remove any debris or residue.

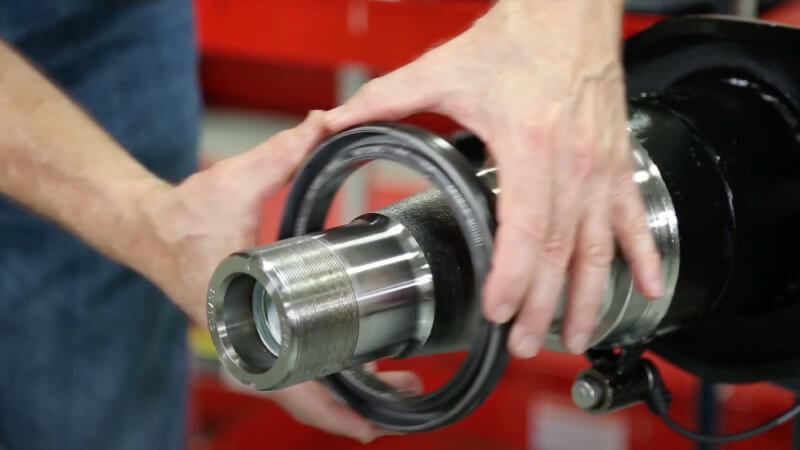
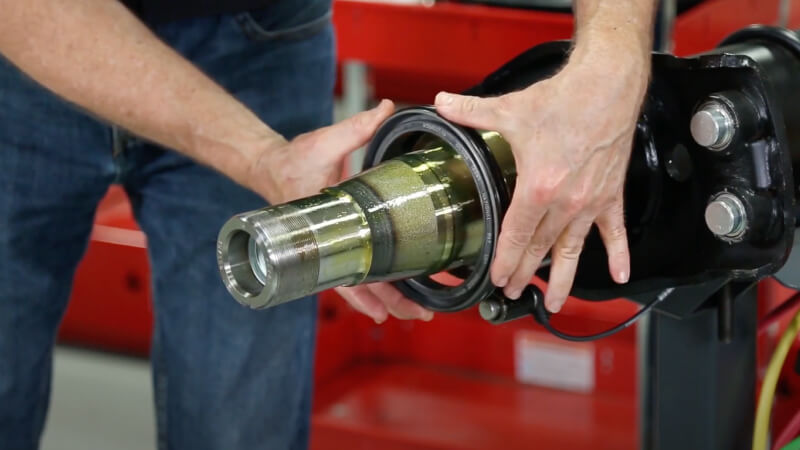
Place the new spindle seal on the front edge of the seal journal to confirm proper fit.
When installing a National oil seal, key callouts help ensure proper installation. The seal itself includes markings that indicate it’s a spindle-mount design and identify the oil-facing side. The packaging also specifies the correct installation tool for the job.

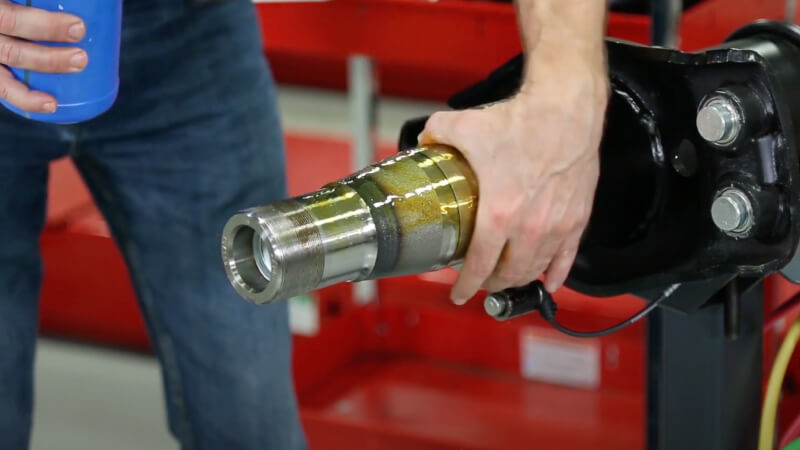
Thoroughly lubricate the spindle by applying oil to the bearing journals and seal journal.

Install the new seal onto the spindle, positioning the oil-side marking so it faces outward toward the hub.

Using a 3–5 lb. hammer and the correct National installation tool (specified on the seal box), strike the seal until it is fully seated – listen for a distinct tone change to confirm proper seating. Then inspect the seal to ensure it’s smooth and evenly aligned on the seal journal, with no tilt or distortion.

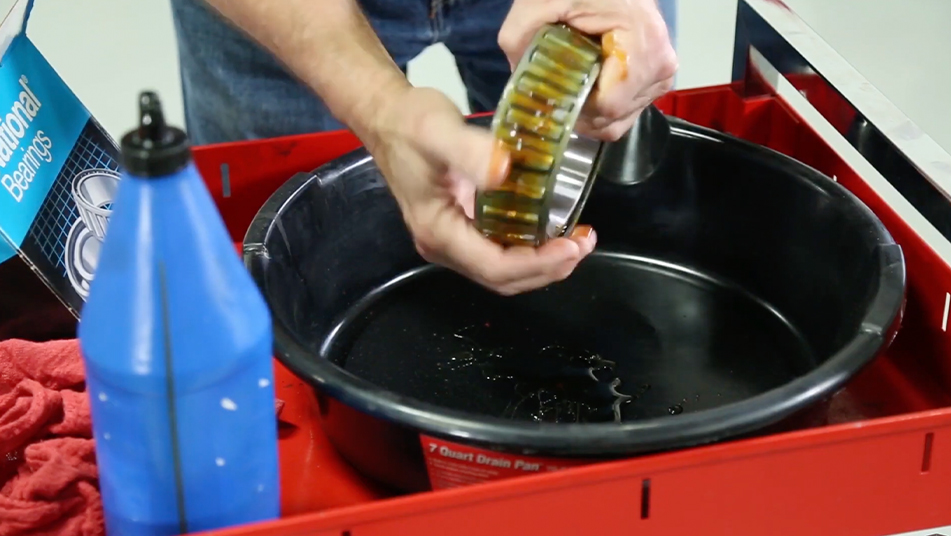
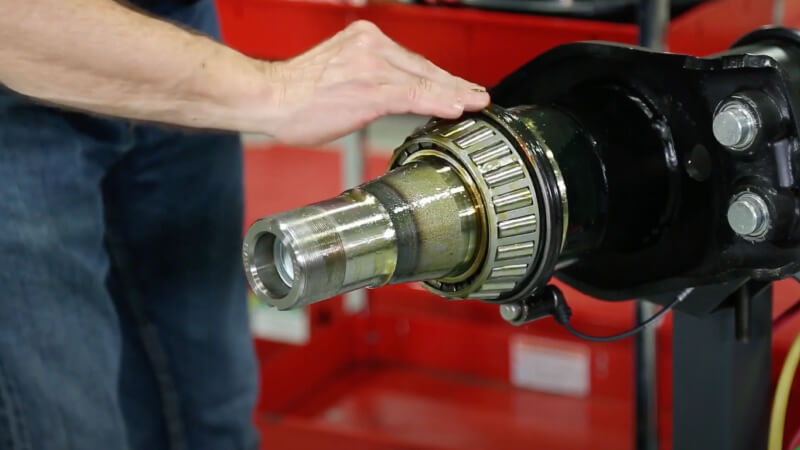
Lubricate the bearing thoroughly before installing it onto the spindle.

Apply oil to the outside diameter of the seal to aid proper installation.

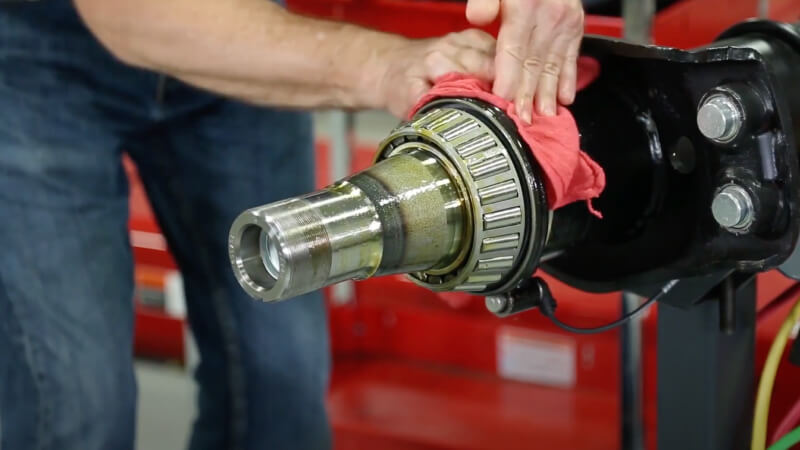
Wipe excess oil from the seal's backside and axle housing to prevent the appearance of a leak if the vehicle is inspected. Once clean, the spindle is ready for hub installation.
Learn more about premium heavy-duty parts, consult our catalogs, find your car part, or find where to buy your auto part today.
The content in this article is for informational purposes only. You should consult with a certified technician or mechanic if you have questions relating to any of the topics covered herein. DRiV and its affiliates (including Federal-Mogul Motorparts LLC) will not be liable for any loss or damage caused by your reliance on any content.